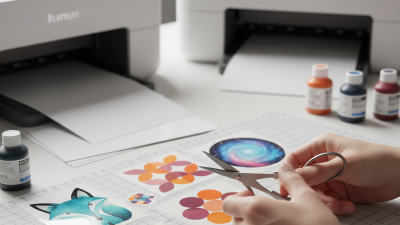
Top Tips for Mastering Sticker Cut Techniques?
Sticker Cut techniques are becoming increasingly popular in the realm of crafting and design. Mastering these methods can elevate your projects and make your creative work stand out. This guide provides essential tips on how to navigate the complexities of Sticker Cut.
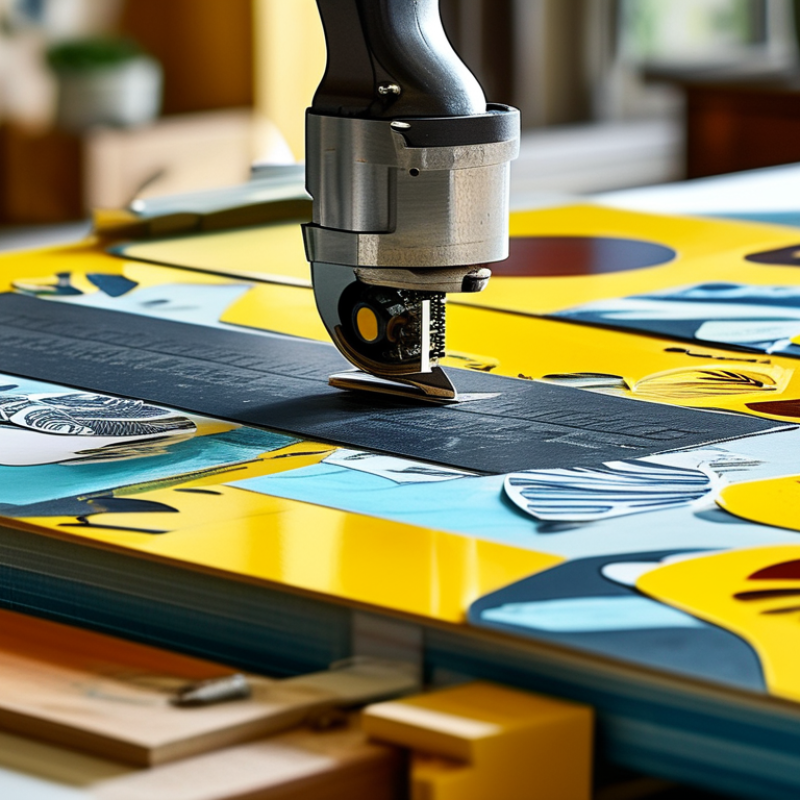
Understanding the fundamentals is crucial. You need the right tools and materials to achieve clean cuts. A good-quality cutting machine or a craft knife can make a significant difference. Experimentation is key, as not all stickers cut the same way. The thickness and shape matter.
Mistakes will happen, and that's part of the learning process. It’s important to reflect on what went wrong. Was it a poor blade or the wrong speed setting? Addressing these questions helps refine your skills. Embrace imperfection; it often leads to unique designs. With practice, your confidence in Sticker Cut techniques will grow, and so will your creativity.
Understanding the Basics of Sticker Cutting Techniques
Understanding sticker cutting techniques is essential for anyone looking to enhance their craft projects. Mastering these techniques can make a significant difference in the quality of your designs. Start by familiarizing yourself with different types of cutting tools. A utility knife offers precision, while scissors can be better for larger cuts. It's also important to understand the materials you are working with. Adhesive vinyl and paper each require different cutting methods.
Practicing accuracy is vital in sticker cutting. Often, people rush through the process, leading to uneven edges or misaligned designs. Take your time to measure and mark where you will cut. A steady hand and keen eye can save you from frustrating mistakes. If your cuts look jagged, reflect on your technique. Learning from errors allows for continual improvement. Experiment with different techniques, and don’t hesitate to adjust your approach if something isn’t working.
Another aspect to consider is the importance of patience. Sticker cutting can be tedious, especially for intricate designs. However, allowing yourself to focus and enjoy the process will yield better results. Remember, practice makes perfect. So, whether you’re making stickers for personal use or a larger project, honing your skills takes time and effort. Regular practice alongside careful observation will lead you to mastery.
Essential Tools for Effective Sticker Cutting
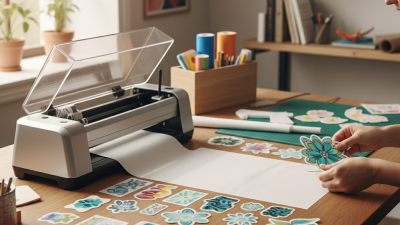
Cutting stickers with precision requires the right tools. One essential tool is a high-quality cutting machine. Research from the Craft and Hobby Association indicates that more than 35% of crafters find that using a cutting machine significantly reduces their cutting time. A sharp blade and a sturdy cutting mat are also critical. The blade should be replaced regularly to maintain clean, sharp cuts. A dull blade can lead to ragged edges and wasted materials.
Another important tool is software for design. Many cutting machines come with capable software that allows you to customize designs. According to a recent survey, about 60% of sticker makers report that using design software enhances their creativity. This investment can lead to more intricate designs and better overall results.
Lastly, having a reliable ruler and a craft knife can help in the finishing touches. Manual cutting allows for flexibility in design adjustments. However, this does require practice. Mistakes can happen, and learning from those missteps is part of the process. Taking the time to refine your technique can lead to greater satisfaction with your work. The right tools paired with practice make for an effective sticker-cutting experience.
Step-by-Step Guide to Cutting Stickers with Precision
Cutting stickers with precision requires careful planning and the right techniques. Start by gathering essential tools. A sharp craft knife and a cutting mat are fundamental. Use a ruler for straight edges and a steady hand for more intricate designs. Make sure the work surface is clean to avoid any dirt getting stuck on the adhesive side of the stickers.
When positioning your design on the cutting mat, ensure it’s properly aligned. If it's off-center, the cuts will not be accurate. Always measure twice before making that first cut. Once you begin, use consistent pressure while guiding the knife along the lines. If you feel any resistance, don’t force it; instead, adjust your angle and try again. It’s better to take a moment to reassess than to ruin an entire sheet of stickers.
Don’t forget to take inventory of your sticker cuts afterward. Reflect on what worked and what didn’t. Not every cut will be perfect, and that’s part of the learning process. Document areas for improvement. Over time, these small adjustments will lead to more refined and professional results.
Top Tips for Mastering Sticker Cut Techniques
| Tip Number |
Tip Description |
Technique Type |
Skill Level |
| 1 |
Use a sharp blade for clean cuts |
Precision Cutting |
Beginner |
| 2 |
Adjust blade depth according to material |
Setup Adjustment |
Intermediate |
| 3 |
Use a ruler for straight lines |
Guided Cutting |
Beginner |
| 4 |
Practice curves and intricate designs |
Freehand Cutting |
Advanced |
| 5 |
Keep cutting surface clean and flat |
Environment Setup |
All Levels |
| 6 |
Experiment with different materials |
Material Exploration |
Intermediate |
Common Mistakes to Avoid When Cutting Stickers
Cutting stickers may seem straightforward, but many enthusiasts face challenges along the way. Common mistakes often stem from improper technique or equipment. For instance, a study from the Crafting Industry Association noted that nearly 40% of hobbyists struggle with precise cuts, leading to wasted materials. Poor blade choice can significantly affect the quality of the cut, resulting in jagged edges and misalignment.
When cutting stickers, it’s crucial to ensure your blade is sharp and suited for the material. Dull blades can drag and tear, causing frustration. Evaluate your equipment regularly. This small step can lead to smoother cuts.
Another common pitfall is not calibrating the cutting machine properly. Failing to set the correct depth and pressure can also ruin the sticker's finish. Research indicates that about 30% of users skip this essential step, often regretting it later. Always perform a test cut on a sample before moving to the final product. Adjusting settings based on these tests can save time and resources, ensuring a cleaner outcome.
Cutting stickers requires attention to detail and consistency. One miscalculation can spoil an entire batch, impacting your project or business. Learning from these mistakes is vital for improvement.
Advanced Techniques for Customizing Sticker Cuts
Customizing sticker cuts requires both creativity and skill. One advanced technique is layering. By stacking multiple cuts, you can create stunning visual effects. Use contrasting colors to enhance the look. Experiment with different shapes and sizes. This approach allows for unique designs, but it’s easy to overwhelm the viewer. It's important to find a balance.
Another effective method involves using a cutting machine to achieve precision. Ensure your design files are properly prepared. Adjusting blade depth and pressure can make a significant difference. However, this technique demands patience. Sometimes, the cuts can be imperfect, leading to waste. Reflection on these mistakes fosters growth in your skills.
Finally, consider the application of texture in your sticker cuts. Adding materials like foil or vinyl can elevate your design. But this may complicate the cutting process. Observe how different materials interact with each other. Embrace the imperfections that arise; they can bring character to your work. Each challenge offers a chance to innovate and refine your technique.
Top Tips for Mastering Sticker Cut Techniques