How to Create Stunning Sticker Cut Designs for Your Projects?
Creating eye-catching Sticker Cut designs can elevate your projects significantly. According to a recent industry report, the sticker market is projected to reach $45 billion by 2027. This growth highlights the increasing demand for unique, customizable designs.
Sticker Cut designs are a powerful tool for branding and personal expression. They not only enhance aesthetic appeal but also add value to products. Engaging with your audience through creative designs can lead to improved customer loyalty. However, many struggle with the intricate details involved in sticker design. Mistakes can detract from the intended message, leading to confusion and disengagement.
Incorporating techniques like layering, color theory, and typography can enhance your designs. The challenge lies in balancing creativity with practicality. It's essential to reflect on your design choices. This reflection can lead to further refinement and innovation in your results. Embracing imperfections in the process can foster a more authentic connection with your audience.
Choosing the Right Design Software for Sticker Cuts
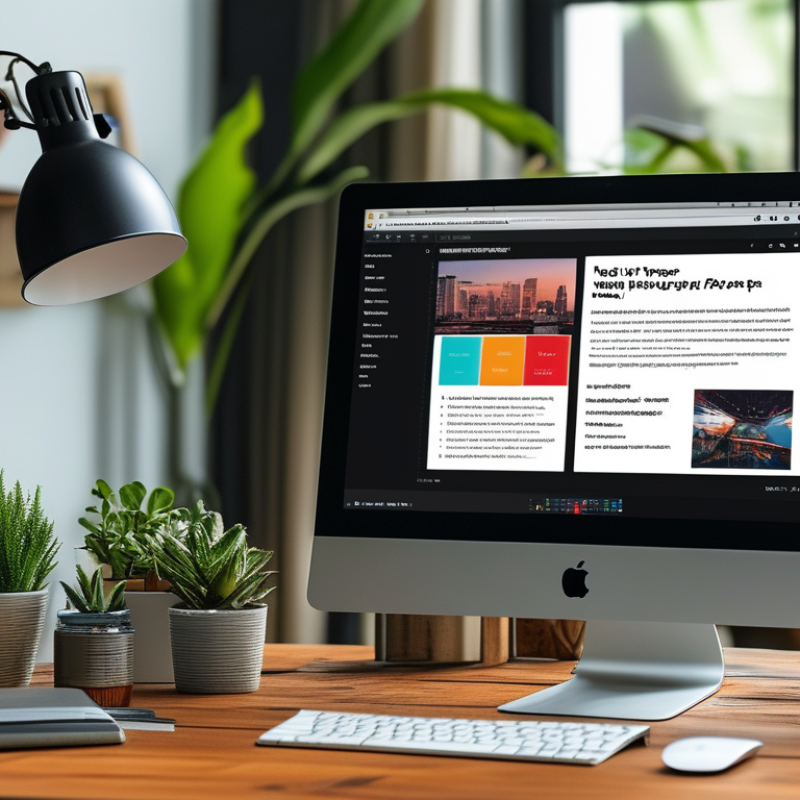
Choosing the right design software for your sticker cuts can make a significant difference. Various software options cater to different needs and skill levels. Some programs are user-friendly for beginners, while others offer advanced features for experienced designers. It's essential to assess your needs before selecting a tool.
Consider software that allows vector graphics. Vector graphics maintain quality even when resized. This feature is crucial for stickers since they can come in various shapes and dimensions. Look for software that offers precision tools for cutting paths. A clear cutting path ensures clean edges, which enhances the sticker's overall appearance.
Explore different options through free trials. Many programs allow you to test functionalities before committing. This way, you can identify which software feels intuitive. Creativity often thrives on trial and error. Don't hesitate to experiment, but keep track of what works and what doesn’t. Your experience will guide you to find the best fit. Design is a journey; embrace the learning curve.
Understanding Different Types of Sticker Materials
When creating stunning sticker cut designs, understanding different types of sticker materials is essential. Vinyl is a popular choice due to its durability and versatility. According to a report by Smithers, the global demand for vinyl stickers is projected to grow by 4.2% annually through 2025. This growth indicates that more designers are recognizing vinyl's fade resistance and weatherproof qualities. It is also critical to consider the finish—matte and gloss options can dramatically change the aesthetic appeal of your design.
Paper stickers are another option, often favored for their cost-effectiveness. They can be easily printed and customized, making them suitable for small runs. However, they lack the durability of vinyl. Covering a paper sticker with a laminate can extend its lifespan, but this adds to production costs. A recent survey by the Adhesive Labeling Association revealed that nearly 60% of consumers prefer products packaged with vinyl labels due to their professional appearance.
Choosing the right material may involve trial and error. If your designs are not yielding the expected results, reevaluating material choices is worthwhile. Many designers overlook the significance of adhesive strength as well. A sticker that peels off easily can lead to frustration. Reflecting on these choices can improve future projects and provide a more satisfying outcome.
Techniques for Creating Eye-Catching Designs
Creating eye-catching sticker cut designs requires creativity and technical skill. Start by choosing a theme that resonates with your audience. Aim for a mood that evokes emotion. For instance, vibrant colors can communicate joy, while muted tones can suggest calmness.
Experiment with different shapes and sizes. Not every sticker needs to be a conventional shape. Sometimes, a jagged edge or an irregular outline can create visual interest. Consider layering elements for depth. Adding textures, like glitter or matte finishes, can enhance the tactile quality of your design.
When working on your design, don't be afraid to try unconventional ideas. Some may not work, and that’s okay. With each attempt, you gain insight into what captures attention. Remember, feedback is crucial. Share your designs with others to gain different perspectives. Sometimes, the most stunning designs come from iterative processes. Embrace imperfections, as they can lead to unique styles.
Sticker Cut Design Techniques Popularity
Preparing Your Design File for Cutting
Preparing your design file for cutting is a crucial step in creating stunning sticker cut designs. Begin by selecting the right software for your project. Programs like vector graphic editors are ideal. Ensure your design is in vector format. This allows for smooth lines and clean cuts. If you use raster images, the quality may suffer during cutting.
Check your file settings before cutting. Adjust the dimensions to match your sticker size. Pay attention to the bleed area. This area ensures that no white edges appear after cutting. You might also want to use layers. This can help in organizing different elements of your design. Make use of contrasting colors to distinguish layers easily.
Lastly, don’t forget to test your design. Create a prototype using cheaper materials. This step can save you time and resources. Sometimes, imperfections show up only during testing. Analyze these issues and refine your design as needed. Remember, creating beautiful sticker designs is an iterative process. Embrace mistakes; they lead to improvement.
Tips for Applying and Finishing Your Sticker Projects
When applying sticker designs, preparation is key. Ensure your surface is clean and free from dust. A quick wipe with rubbing alcohol ensures better adhesion. Measurement is essential. Take your time. Misalignment can ruin an otherwise perfect design.
For finishing touches, consider laminate options. Laminates protect stickers from wear and tear. They also enhance colors, giving them a vibrant look. Apply laminate carefully; bubbles can form easily. Use a squeegee for smoother application.
Lastly, allow time for stickers to cure. Many underestimate this step. Rushing can lead to peeling or fading. Proper care extends the life of your stickers. Reflect on your process. Each project teaches something new. Embrace the learning curve.
How to Create Stunning Sticker Cut Designs for Your Projects? - Tips for Applying and Finishing Your Sticker Projects
| Design Aspect |
Tip |
Application Technique |
Finishing Touch |
| Color Palette |
Choose a complementary color scheme |
Use vector graphics software |
Apply a gloss finish for vibrancy |
| Shape Design |
Incorporate unique shapes |
Use precision cutting tools |
Add a border for definition |
| Material Choice |
Select durable adhesive vinyl |
Ensure clean application surface |
Seal with a protective laminate |
| Design Software |
Utilize popular design tools |
Import graphics easily |
Final checks to ensure quality |
| Application Surface |
Clean and dry surface is crucial |
Use a transfer tape for placement |
Smooth out air bubbles carefully |