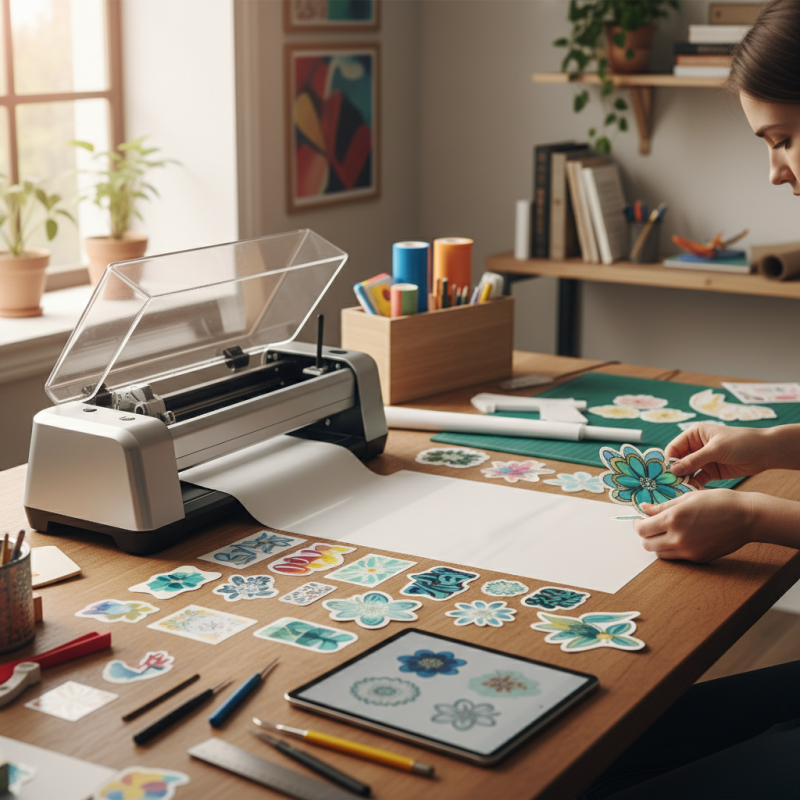
Top Sticker Cut Tips for Perfect Designs Every Time
When discussing the world of Sticker Cut, expert Jane Smith emphasizes, “Precision is key for perfect designs.” The intricacies involved in creating high-quality stickers are vast. Whether it’s choosing the right materials or mastering your cutting machine, each detail matters.
Many beginners underestimate the significance of sticker cut techniques. Often, they rush through the design process, leading to frustrating errors. Flawed cuts can ruin an otherwise stunning artwork. It’s crucial to pay attention to blade settings and cutting speeds. These elements can greatly impact the final product.
Even for seasoned creators, there’s always room for improvement. Experimenting with different cuts can lead to unexpected outcomes. Reflecting on what works and what doesn’t can enhance future projects. A perfect sticker cut is not just about precision; it’s a journey of creativity and learning.
Top Sticker Cut Techniques for Flawless Designs in Graphic Industry
Creating flawless sticker designs involves mastering cutting techniques. Precision is key in the graphic industry. A clean cut enhances the overall look of your stickers. Choosing the right blade also matters. A dull blade can ruin your design, leaving jagged edges. Be sure to check your cutting tools regularly.
During the cutting process, it's easy to make mistakes. Sometimes, the design doesn't align well with the cut line. This can happen due to miscalibrated settings. Consider making test cuts on scrap material. This helps prevent larger disasters later on. It's frustrating to waste time and resources. Reflecting on past errors is crucial for improvement.
Using a steady hand or a cutting mat can also help. Avoid rushing through your work; it's better to take your time. Consider different cutting methods for various materials. Sometimes, hand-cutting provides more control. However, it can also lead to uneven edges, which is not ideal. Understanding your tools and methods is essential for perfect designs.
Understanding the Importance of Design Software in Sticker Production
In the world of sticker production, design software plays a crucial role. Using advanced tools can enhance creativity and streamline the design process. These programs allow for precise color management, layering, and scaling, which are vital for achieving the perfect sticker. For anyone involved in sticker design, mastering such software is non-negotiable.
When diving into sticker design, keep a few tips in mind. Start with a clear concept. Sketch it out before moving to digital. Ideation is vital. A rough draft can guide your use of design tools. Don't hesitate to try different layouts. Explore various elements like shape and size. Sometimes, what seems unappealing during design can surprise you in the final product.
Remember, imperfections may arise during production. Designs can shift during printing. Colors may not match expectations. Be prepared to iterate. Each mistake is a chance to refine your process. Embrace experimentation. Adjusting designs based on trial and error can lead to unexpected, stunning results. Design is a journey, not always a straight path.
Essential Tools for Achieving Precise Sticker Cuts and Edges
Creating precise sticker cuts is an art form that relies heavily on the right tools. According to a 2022 industry report, professionals using high-quality cutting machines achieve a 30% improvement in accuracy. Choosing tools that suit your design style is crucial. For example, a laser cutter may provide cleaner edges than a traditional blade. But, it requires meticulous calibration for optimal performance.
Beyond machines, blade selection plays a pivotal role. A dull blade can ruin a design, causing rough edges and uneven cuts. Research indicates that 25% of errors in sticker production stem from using improper blades. Regular maintenance and sharpness checks are essential. Additionally, using cutting mats can reduce wear on blades and ensure consistent results.
Experimenting with different tools can lead to better designs. However, some tools may not yield the expected outcomes. For instance, intricate designs may be harder to cut cleanly with some machines, leading to frustration. The learning curve is steep, but each misstep provides valuable insights. Understanding your tools and their capabilities can transform average designs into standout pieces. Always reflect on past projects to refine your technique and avoid repeating mistakes.
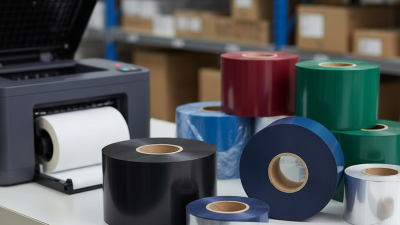
Leveraging Material Types: Choosing the Right Vinyl for Your Project
Choosing the right vinyl for your sticker designs can make or break your project. According to industry reports, nearly 60% of design failures stem from inappropriate material selection. When deciding on vinyl, consider the finish and adhesive type. Glossy vinyl is great for vibrant colors but can show fingerprints. Matte vinyl offers a more refined look, yet colors might appear muted.
There are essential vinyl types to know. For indoor use, removable adhesive works best. It's forgiving and allows repositioning. Outdoor projects, however, require durable, waterproof vinyl. Reports indicate that 75% of outdoor stickers fade within six months without proper material. Remember, not all vinyls are factory-perfect. Uneven cutting or misalignment can occur, leading to waste.
Testing your vinyl is crucial. Create samples before committing to large orders. This minimizes mistakes and helps refine your designs. A common pitfall is underestimating compatibility with cutting machines. Sometimes the blade settings might not match the vinyl thickness. Make use of feedback when things don’t go as planned. It’s a learning experience that can improve your future projects.
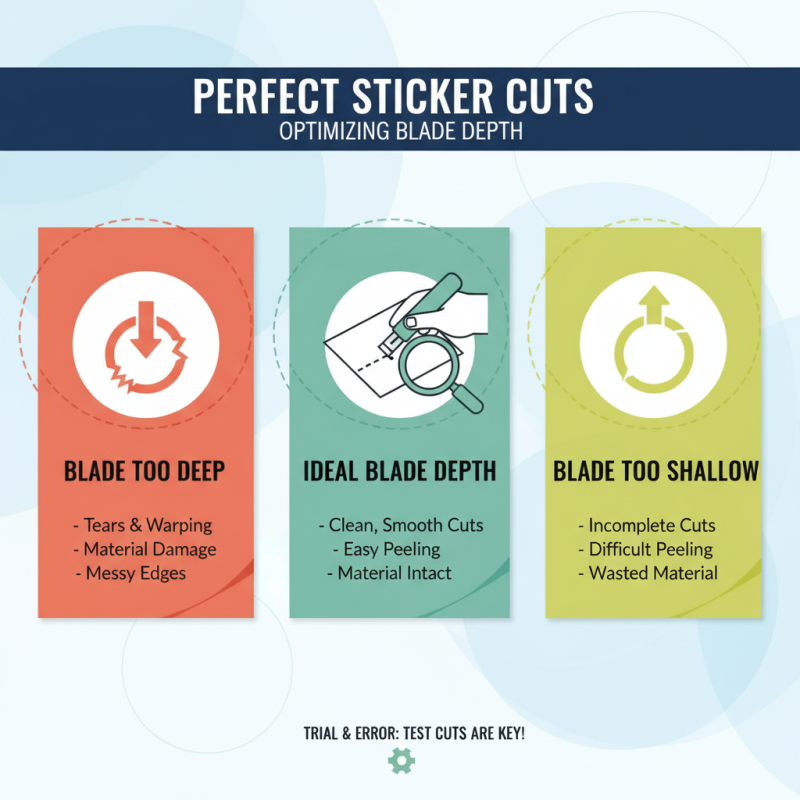
Analyzing Cut Settings: Optimizing Blade Depth and Pressure for Success
When it comes to creating perfect sticker designs, cut settings play a crucial role. Optimizing blade depth is essential. Too deep, and your design may tear or warp. Too shallow, and you won't cut through the material effectively. Adjusting the blade can be a trial-and-error process. Ensuring the right depth is often about how the material reacts.
Pressure settings are equally important. High pressure can risk damaging your blade or your cutting surface. Lower pressure might lead to incomplete cuts, leaving you with imperfect designs. Testing these settings on spare material can prevent waste. It’s beneficial to assess your results after each attempt to refine your process.
However, don’t hesitate to embrace some imperfections. Occasionally, a design may cut slightly unevenly. Analyzing these flaws can help improve future cuts. Each sticker you create offers insights into what works best. Keeping notes on your settings can also help you remember what needs adjusting next time. Finding that sweet spot takes practice and reflection.